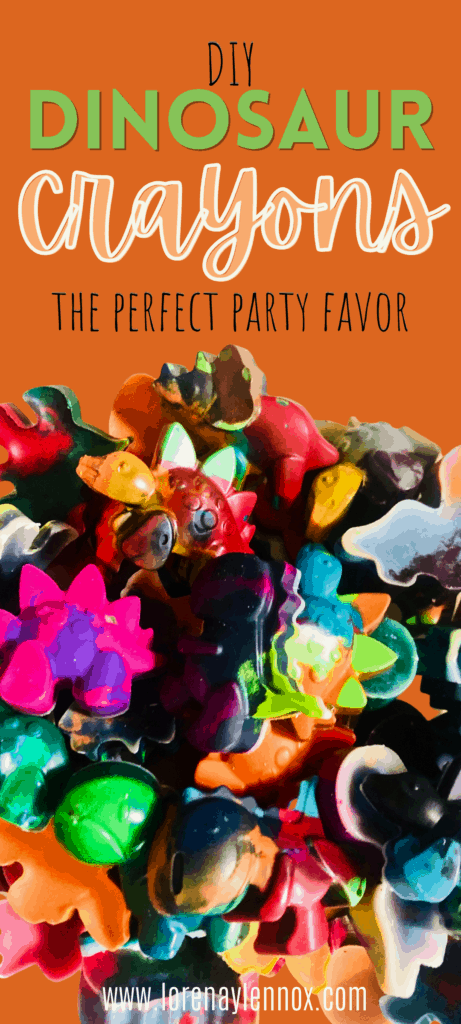
In this post, learn how to make DIY dinosaur crayons. These DIY crayons are fun to do with your child. They also are great party favors!
If you know me by now, you know I adore a good DIY.
I am always looking for a reason to craft, or do sensory activities with Lennox and for his dinosaur-themed second birthday party in June, we did a lot of crafting.
One of my favorite items that Lennox and I made for his birthday party ware these DIY dinosaur crayons.
They were a hit, not only for the younger children but also for the older ones as well.
Keep reading for a tutorial on how to make these adorable crayons.
Materials needed to make the DIY Dinosaur Crayons
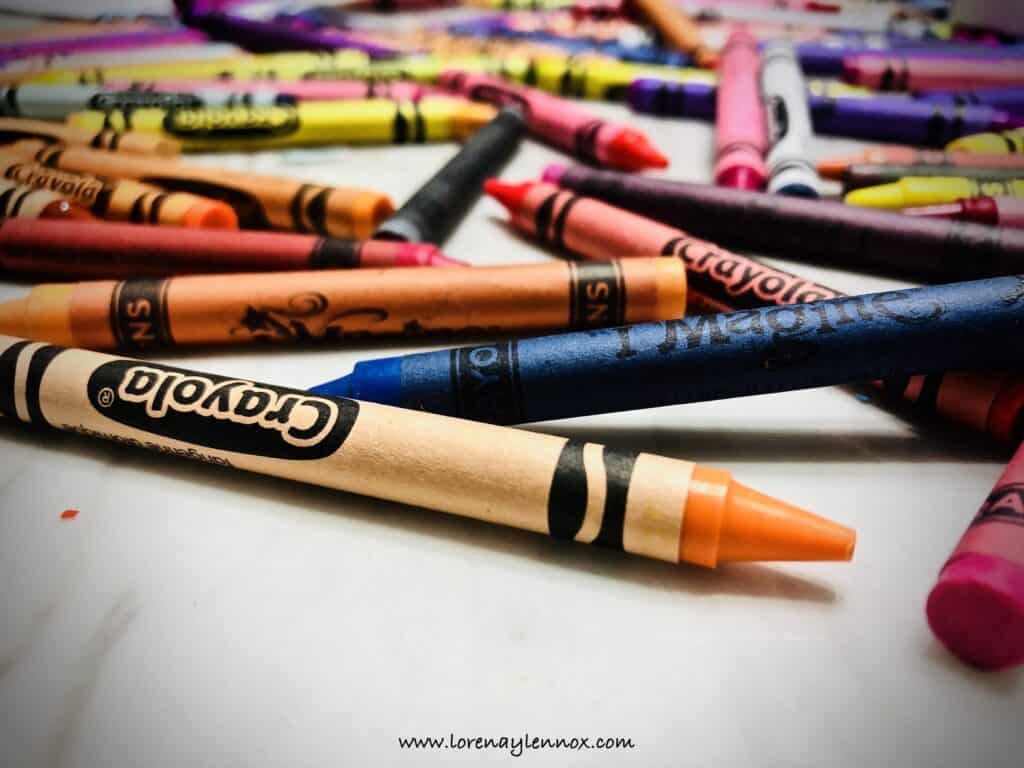
- Crayola Crayons– I emphasize that you use Crayola Crayons because they melt better and their colors stay more vibrant after the melting process. Also, the paper is easier to peel than other crayons.
- Dinosaur Silicone Mold
- A small, sharp knife
- Scissors
- Parchment paper
- Baking sheet
Steps to make your DIY Dinosaur Crayons
Step 1:
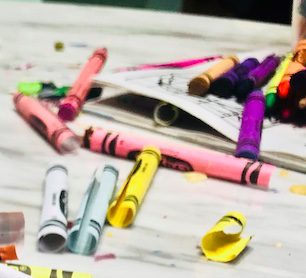
Place all your crayons on a surface where you will do the molding.
Take a sharp knife and carefully slice vertically along the crayon’s paper. You might be asking why use a knife instead of simply peeling?
Peeling would be great if you only plan on molding a few crayons, however, after crayon number twenty (thirty minutes later), you’re going to be so frustrated trying to peel off the not-so-peelable paper and your nail beds are going to be throbbing. This was my first timer’s mistake my first go around.
Thank heavens for Carlos, the creative brain in the family, who laughed at my struggling efforts and helped me by using a sharp knife. We banged out the rest of the crayons in 10 minutes. Take my—well Carlos’— advice! See picture to the right (or above if you’re on a mobile =) to see how we cut the crayon’s paper.
Note: as I mentioned earlier, Lennox helped me make these crayons; however, he did not help me during step 1. Please keep the toddlers away from the sharp knives!
Step 2:
Preheat over to 250°.
Step 3:
Place your now peeled, whole crayons into a container. If you plan on mixing your colors, as in my photos, you can put them all into one bowl. If you want to make a unicolor crayon (not very ideal unless you buy multiple boxes of crayons) set them into different containers.
Step 4:
Another one of my first mistakes were breaking the crayons with my own hands. Now not only did I have pulsing nail beds from peeling off paper, but now I was cultivating callouses on my fingers. Oh Vey!
I decided to grab a pair of scissors, and after multiple attempts at cutting the crayons and them subsequently flying all around the room, I found a way to work in sync with the sissors. The trick is to firmly hold the crayon and place it at furthest end of the scissors opening. Then slowly apply pressure, and the crayon will start to break. Make sure to cut the crayons into small pieces, around ¼ of a inch, some even smaller for the tiny crevices of the mold.
Note: There will be crayon debris left over from the scissors, DO NOT disregard these debris. Use them to fill in any cracks in your mold, and give your crayons an extra tie-dye pop!
Place your broken crayons into a container so they don’t get everywhere as mine did.
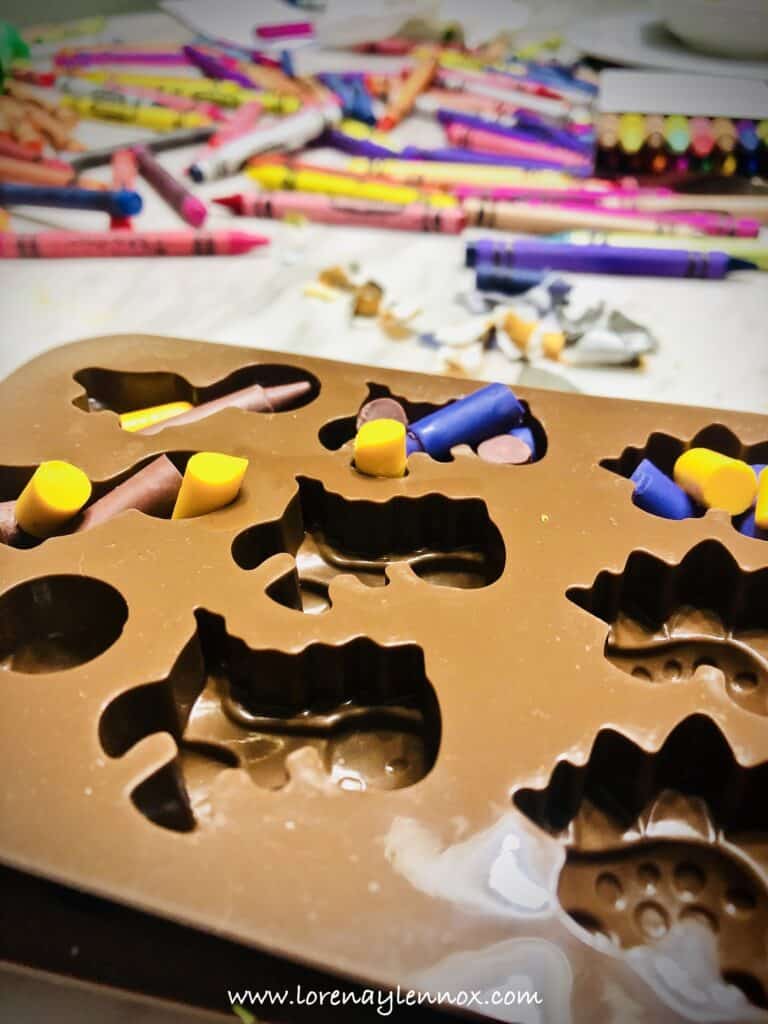
Step 5.
Place crayons in mold
Here is where I invited Lennox to help me (now that are the weapons are out of reach). After making a couple of batches of crayons, the best way to get full crayons is to take your larger pieces and fill each mold as much as you can. Then, take the smaller pieces and fill in the empty spaces. Then, take your debris and fill in the nooks and crannies. Don’t worry about overfilling the molds, they will melt down.
In the picture above, I did not fill in all of the space and the crayons came out very thin. If that happens, no worries. You can add more crayons on top and re-melt them. However, if you follow my advice above, you will save yourself some time.
Step 6.
Place parchment paper onto a baking sheet. This is an important step that I regret not doing with my first batch because if your mold overflows, or if you get a shaky hand moment and your wax spills, you won’t have to worry about getting it off of your pan later.
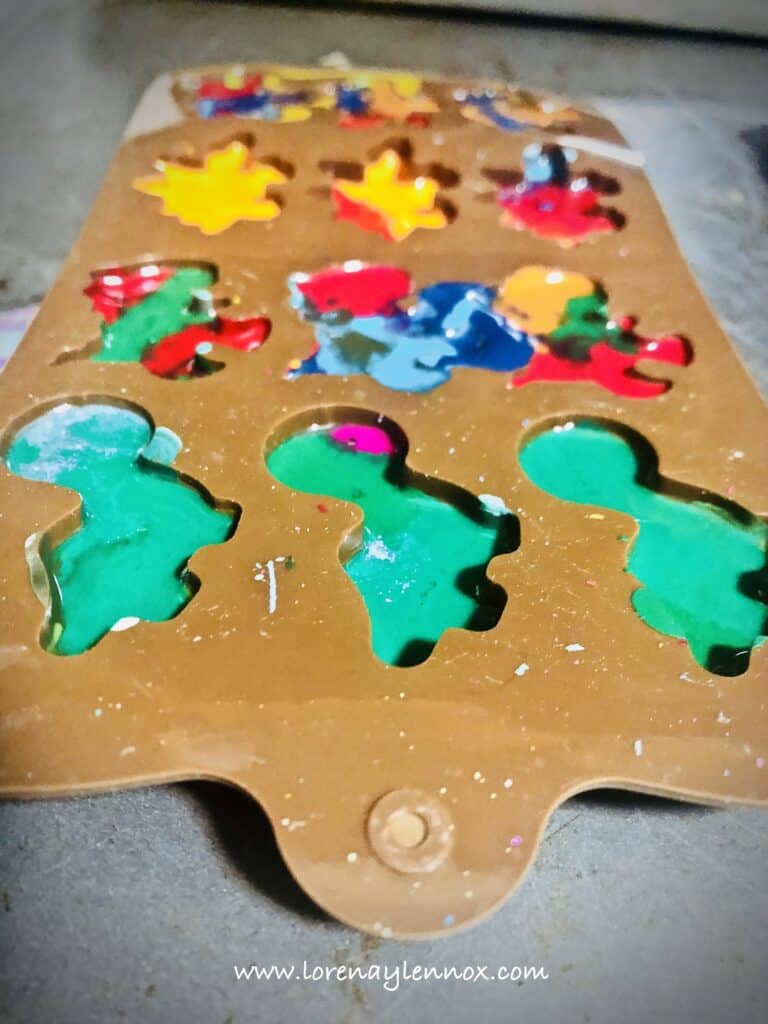
Step 6:
Place your molds in the oven for 10-15 minutes. Then, check to see if your crayons have fully melted and are of liquid consistency. If so, remove them from the oven.
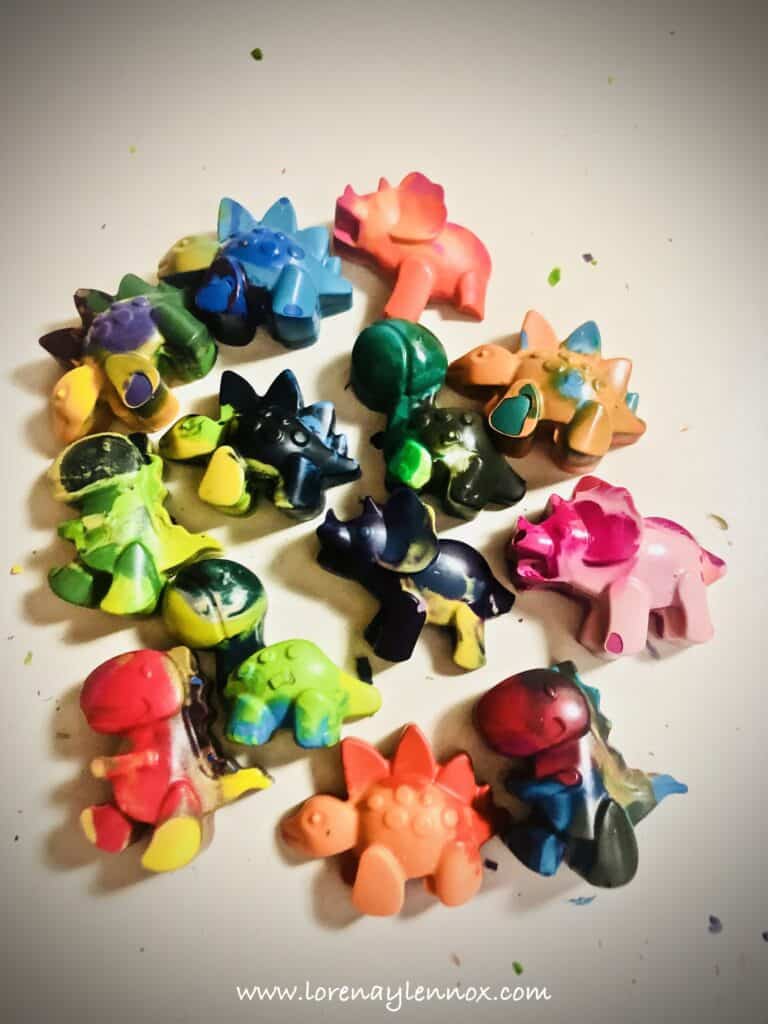
Step 7:
Let your crayons cool for several hours. The crayons will cool rather quickly, but don’t let that encourage you to remove them from the mold too soon. I made this mistake and had a couple of broken dinosaur-limbs. If you let them cool for several hours, don’t be afraid to push your mold and pop! Out will come your beautiful dinosaur crayon.
I know I’m making this sound like it’s some sort of rocket science, but it’s not. I simply want to offer my best advice that I learned from all of my trial and errors so that you can make your melted crayons with ease.
They turned out way better than I expected, and the colors turned out super cool.
There are so many different molds on Amazon that you could make crayons out of, and they would be a cute touch for many various celebrations.
Jen | One Bold Mama
Friday 2nd of August 2019
My daughter will absolutely love this! Heck I love this! It's so creative and adds an extra pizzazz to coloring! Thank you so much for sharing this!
Laurin Ruprecht
Tuesday 13th of August 2019
The DIY crayons really are so creative and fun to make together with your children! I bet you will be surprised to find yourself coloring with them more, or maybe that's just me. Ha!
Whitney
Friday 2nd of August 2019
I love this idea! I have a Darth Vader mold i'd love to try this with for my son!
Laurin Ruprecht
Tuesday 13th of August 2019
Ooh that sounds fun. Let me know how they turn out!
Mama Ash{Erica}
Wednesday 31st of July 2019
So easy and so fun! I am going to try this. I have a mermaid silicone pan that my daughters would love.
Laurin Ruprecht
Tuesday 13th of August 2019
Oh wow, mermaid crayons would be awesome! Let me know how they turn out!
Mommy Nessly
Wednesday 31st of July 2019
These are adorable. Perfect for my toddler who adores dinosaurs. I love how I can get creative with this project just by using other molds. Thanks for sharing.
Laurin Ruprecht
Tuesday 13th of August 2019
Absolutely and they are so easy to make! Have fun and let me know if you decide to do some. I would love to see how they turn out!
Kesi
Tuesday 30th of July 2019
too cute! Definitely doing this! I can't wait to make some molds with my boys.
Laurin Ruprecht
Tuesday 13th of August 2019
I hope you enjoy! Let me know how they turn out!