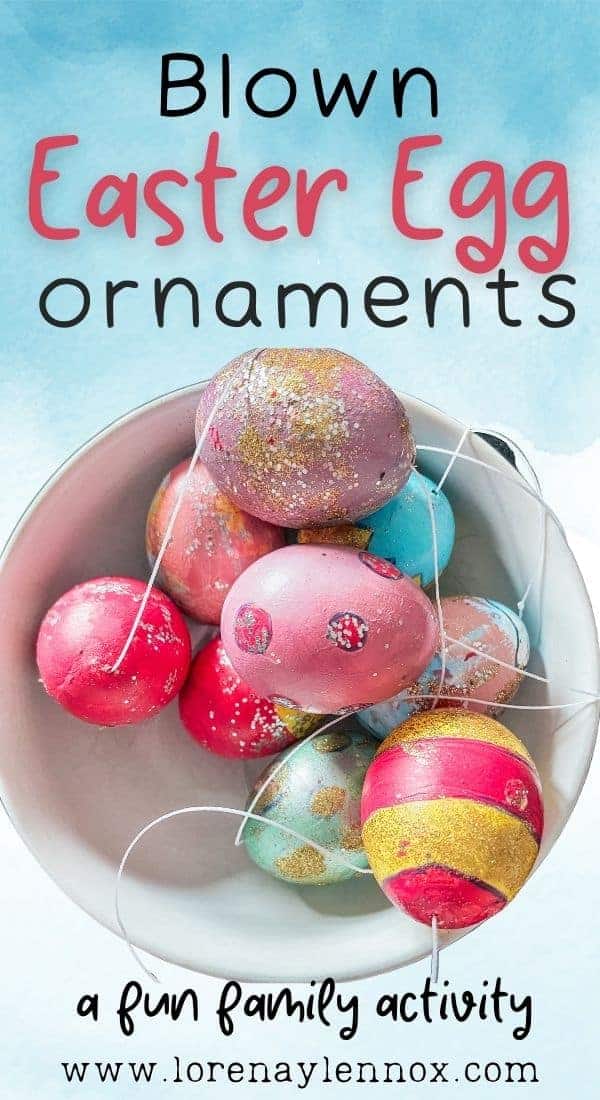
With Easter not too far off, I wanted to share a fun tutorial on making blown-out Easter eggs. You can use these eggs as ornaments and save them for future Easters.
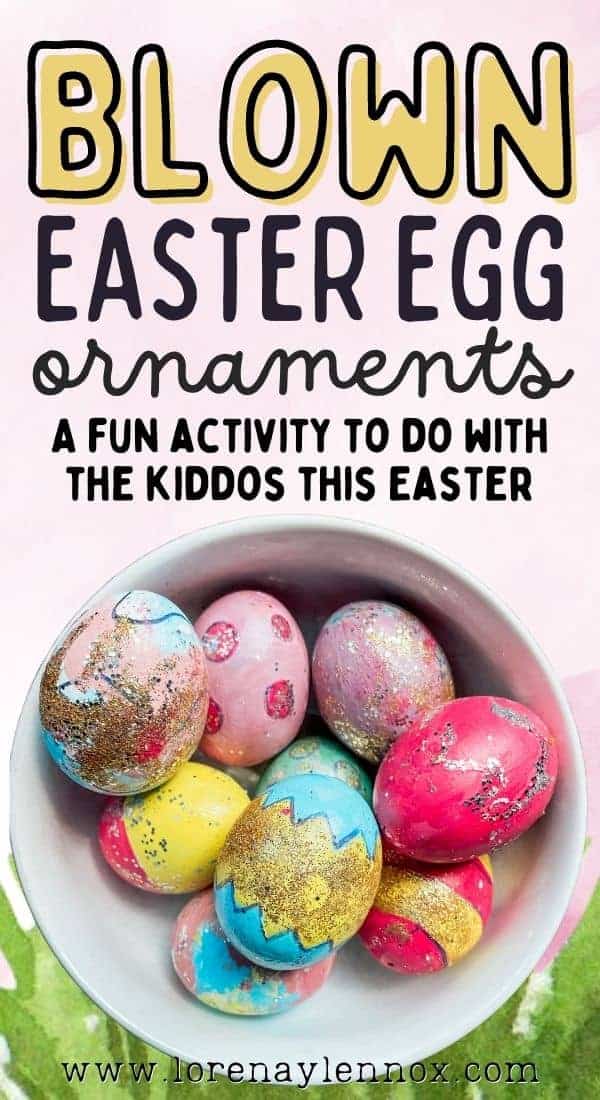
Making blown-out Easter eggs is a great idea to do with the whole family! Turn it into a fun tradition you can do each year!
Keep reading for 10 simple steps on how to make blown-out Easter eggs and how to turn them into a beautiful Easter decoration that you can use year after year.
Disclaimer: As an Amazon Associate I earn from qualifying purchases but this comes at no additional cost to you.
Materials needed to make these blown out Easter Egg Ornaments:
- Eggs
- Thumb tacks
- Bowl
- Acrylic paint
- Paintbrushes
- Sharpie
- Clear Elmer’s Glue
- Glitter (optional)
- Mod Podge Sealer
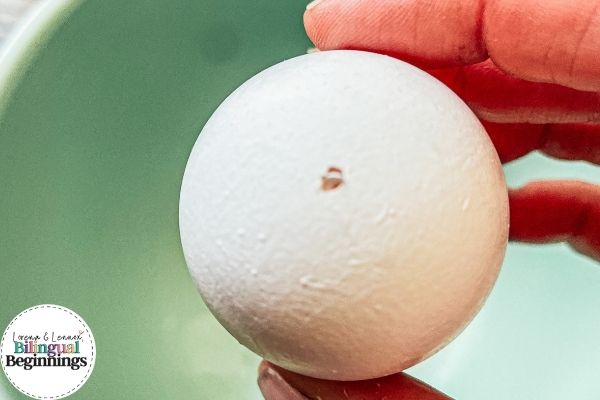
Step 1: Make the holes in your Easter Eggs
The first step is the most tedious step in making these blown-out Easter eggs, and it should be done by an adult.
To remove the egg contents out of your fresh eggs, you will need to make two holes, one in the top of the egg and the bottom of the eggs.
To do this, I use thumbtacks.
Thumbtacks are ideal for this project because they have a super pointy side that will puncture a small hole in the egg without causing the egg shell crack.
There is a plastic push element on the other end of the thumbtack that will allow you to push the thumbtack in carefully, without cutting your fingers, unlike a small nail or needle.
To poke the hole into the egg, carefully hold the egg and apply pressure at the top and bottom with the thumbtack.
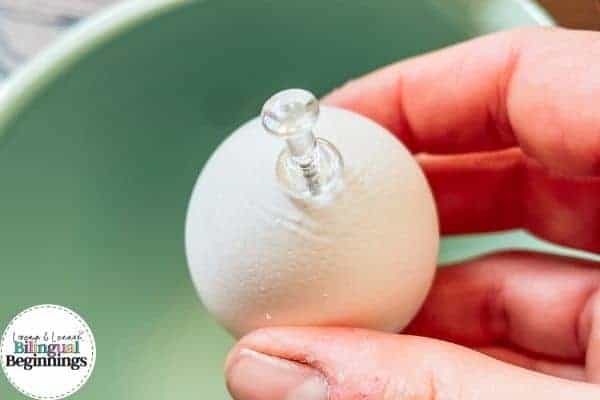
Twist it a couple of times, and it should puncture the eggshell.
Additional tips for putting a hole in your egg
I have read that adding a piece of tape to the bottom of the egg before making the hole prevents the egg from cracking. However, I did not use this technique, and I punctured a hole quite fine.
Make sure that you are not applying pressure to the rest of the egg while you puncture the hole so that you do not crush the egg.
Once you have punctured the egg, use the needle end of the thumbtack and go around the hole in circles to make a larger hole. This will help when you are blowing out the yolk.
You could also push around the hole with the needle end of the thumbtack to widen the gap.
Step 2: Blow out the yolk of the Easter Eggs
Once you have two holes, one on the top and the bottom of the egg, you are all set to begin blowing out the yolk of the egg.
If you did not widen your hole a bit, you might want to do so now, as it will take quite the air to get the yolk out of a tiny pinhole.
A smaller hole will make for a harder struggle to get the yolk and egg whites out of the inside of the egg.
Now it’s time to get the kiddos involved! Trust me. You will want to. This step can get a bit tiresome. It can make you head dizzy too. So get those little lungs working, too!
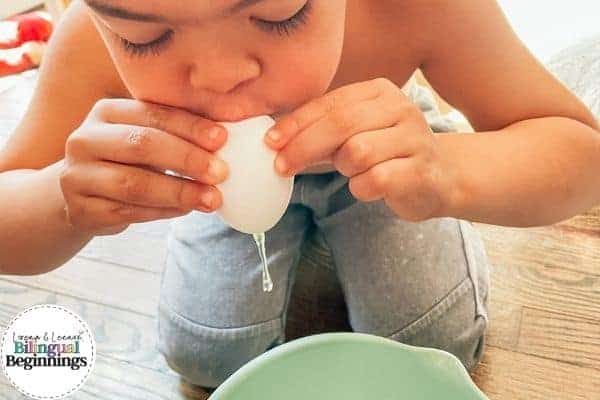
Once your holes are widened, blow from the top hole while holding the egg over a large bowl.
The bowl is there to catch the yolk as it comes out. Also, you can save those eggs for a future meal.
Begin blowing the egg white and egg yolk out of the egg.
Initially, the egg white will begin to drizzle out of the second hole of the egg.
Once you get to the yolk, you will have to blow a little harder. After that, it will start to squeeze out.
You may have to use your finger to remove some yolk that is being stubborn and will not extract.
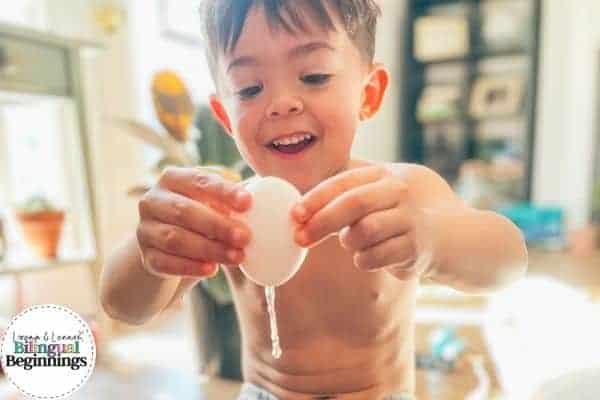
Eventually, it will come through the egg, and so will the remaining egg white.
Be careful. Once the egg yolk comes through, the egg white might splatter everywhere if you still blow with the same force.
You should now have a hollow shell.
Read more: 7 Fun Sensory Easter Activities for Toddlers
Repeat steps one and two for the desired amount of blown-out Easter eggs.

Step 3: Once you have emptied the contents of the egg, clean the Easter Eggs
To avoid your eggs molding or becoming rancid, it is best to wash your eggs.
You can do this by running them under a slow stream of water. You could also soak them in warm water.
I soaked mine in a water and vinegar mix and then rinsed them off.
Step 4: Set Aside to Dry
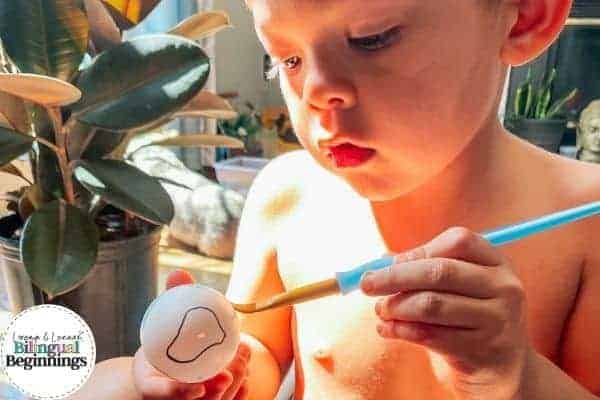
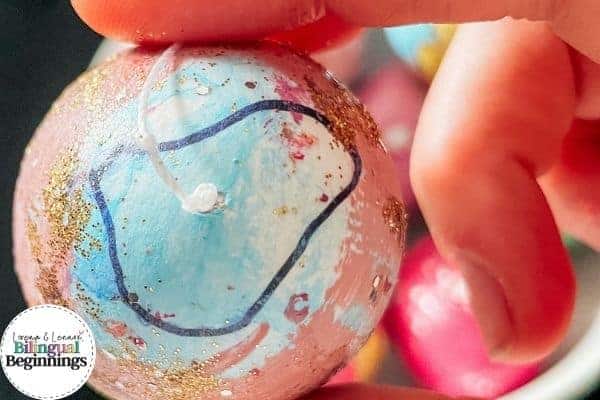
Step 5: Design Your Blown-Out Easter Eggs (optional step)
This next step is entirely optional. You can skip this part and go straight to the painting if you want a blank surface.
My son Lennox enjoys painting when I create a design for him to fill in. So, I took a sharpie for this step and added some designs to some of the eggs.
Some of them I left blank.
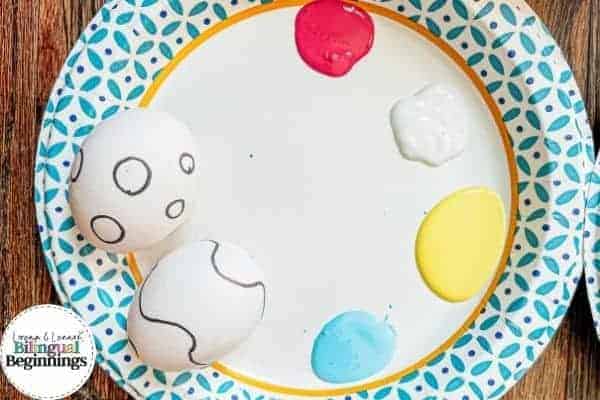
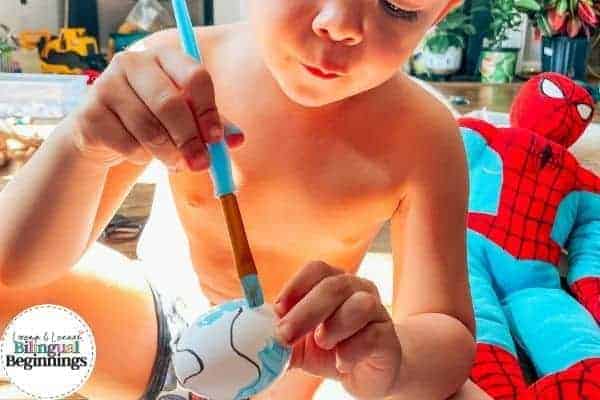
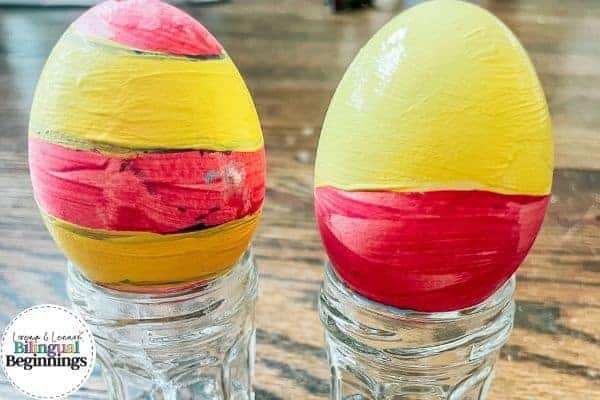
Step 6: Paint Your Easter Eggs
Now comes the exciting step, painting the empty shell! So much fun!
We used acrylic paint because I plan on saving these eggs and using them as ornaments. Thus, acrylic paint is more permanent.
I recommend using washable paint if you have little kids, so you don’t get permanent paint everywhere!
Read more: Whipped Cream Dyed Easter Eggs
Nonetheless, whether your child is younger or older, paint is bound to get somewhere, so I have an AWESOME tip for you.
*Carry a bottle of this CitraSolv degreaser concentrate with you. I use this bad boy for EVERYTHING: cleaning countertops, floors, bathrooms, windows, and even laundry.
Once you purchase this cleaning product, you will be saying goodbye to all the rest. I’m not kidding.
And a little bit goes a LONG way.
It is also great for removing acrylic paints, glues and stickers. Yup! Do you have stickers stuck on a surface? Soak them in this bad boy for a couple of minutes, and it will come off with ease.
Back on point, I put a little bowl of water with a few drops of CitraSolv with a paper towel nearby to clean up quick messes and soak our paintbrushes in between use.
This will allow a creative and fun experience with painting the eggs.
Happy painting!
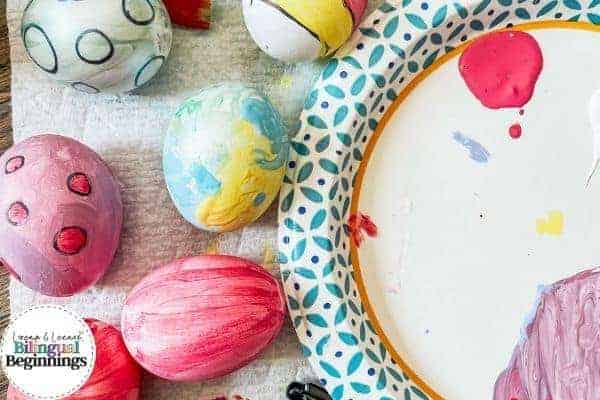
Step 7: Let Eggs Dry & Add a second coat of paint.
Once your eggs are painted, set them somewhere to dry. I recommend a throwaway plastic container, parchment paper, or even a dish. If you get paint on your plate, apply some Citrasolv, and it will come right out!
Likewise, we also used these little tiny mason jars to sit our blown-our Easter eggs on. They worked perfectly!
Once dry, apply another coat of paint if needed.
Step 8: Add Glitter (optional)
If you’re interested in adding glitter to your eggs, this is the step. For best results, make sure your eggs are dried before adding glitter. If they are still wet with paint, the glitter will stick to the paint.
We applied our glitter using a clear Elmer’s glue.
I poured some glue onto our paint palette, and we painted our eggs with the clear glue where we wanted the glitter to show up.
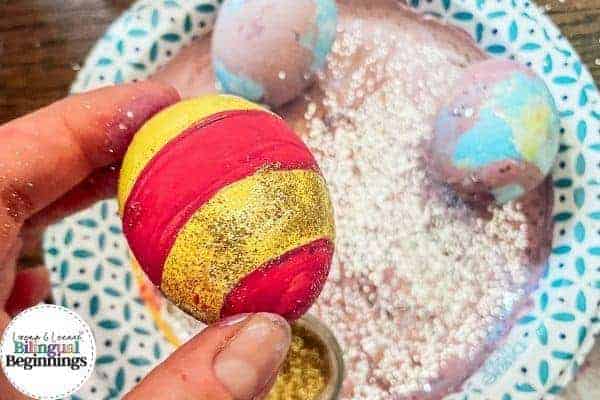
Then, we sprinkled glitter over our egg over a disposable paper plate, turning it to get all the glued areas covered.
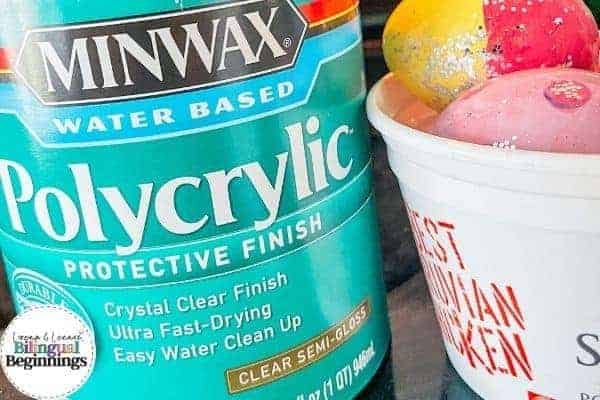
Step 9: Let dry, seal with your blown-out Easter eggs with a protective layer.
Let your eggs dry from the glue and glitter. Once they are dry, add a protective coat over your eggs if you want to preserve them for future use.
I used this Polycrilic Protective Clear Gloss, but you could also use Modge Podge craft glue
Step 10: If you want to hang your blown-out Easter Eggs, add string
Yay, you have made it to the last step, adding string.
If you do not wish to hang your eggs, you don’t need to do this step.
If you wish to hang your eggs, take some thread or yarn.
Make a knot at the end of the thread. Keep making a knot in the same place until it looks slightly bigger than the hole in the egg.
Tip: Do not tie to knot too tight. You will need to wiggle it into the hole, so the looser, the better. Also, once the knot is inside the hole, it will expand and prevent it from coming back through the hole.
Once your knot looks the right size, take your thumbtack and gently wiggle the knot into the hole.
Your egg should be pretty tough now with the paint and protective finish layers. That doesn’t mean you should go throwing it like a baseball.
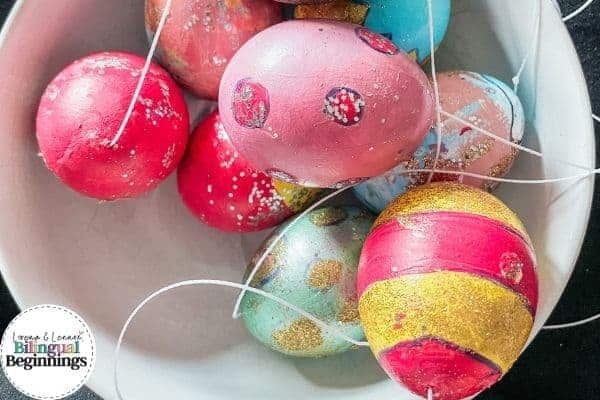
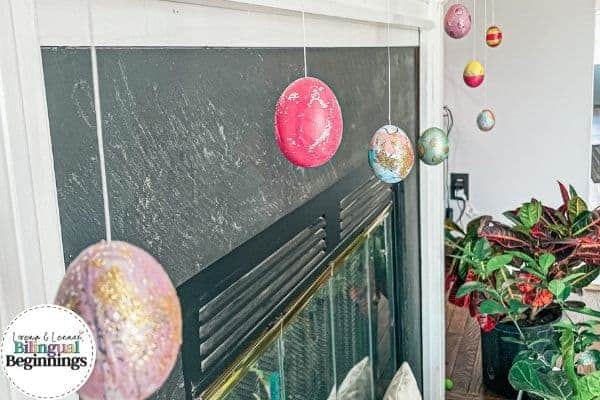
Voilá. Your egg ornament is finished! Now you can hang it or them somewhere around the house, or make an Easter tree. What a beautiful Easter decoration, right?
We hung ours from our mantle. I love how it looks!
Are you loving the end result? I know I am! Share your end results with me on Instagram or on my Facebook page by tagging @lorenaylennox!
You could also use these eggs to hide around the house for an indoors easter egg hunt.
Spanish words that you can use in this activity to foster Spanish at home
Lastly, since we are a bilingual family, we use to play and arts and crafts activities to our advantage to nurture our minority language at home.
Since most of my readers are here for my bilingual content, I wanted to offer a list of words that you can use to do this activity in Spanish at home!
- Egg- Huevo
- Yolk- El yema del huevo
- Egg white- La clara del huevo
- Hole/ preforation- el agujero/ el hoyo
- Thread- El hilo
- Let’s paint – ¡Vamos a pintar!
- Glue- El pegamento
- Glitter- el brillo
- Easter- la Pascua
For more Easter activities in Spanish, you can also check out the following posts:
- 15 Easter Picture Books in Spanish for Children
- Easter Worksheets in Spanish for Kids (Free Printable)
- Easter YouTube Videos in Spanish
Thank you so much for reading! I hope you enjoy this fun activity with your family!