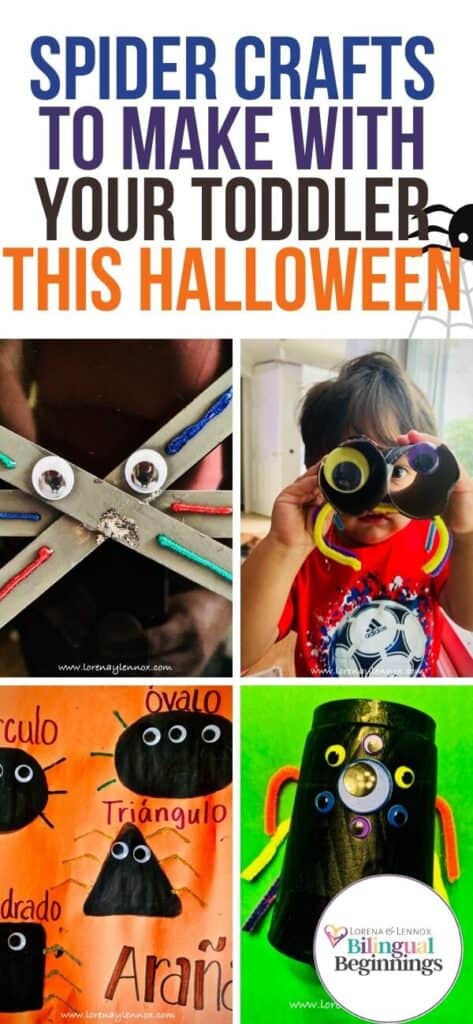
Inside: 5 simple spider Halloween crafts make from household items to do with your toddlers and preschoolers this Halloween
As we were deep cleaning the other day, Lennox and I found a ginormous spider in between the window and the screen.
It barely moves but is definitely still alive. While it may haunt me in my nightmares, Lennox gets a kick out of his new spider-friend, so I deemed it appropriate to focus on spider-crafts to kick off our Halloween.
He had so much fun making these, and more fun playing with them as figurines. Consider them his “forky.”
Disclaimer: As an Amazon Associate I earn from qualifying purchases but this comes at no additional cost to you.
Check out more Halloween Inspiration below:
- Halloween Scavenger hunt- free printable!
- Fun Halloween Arts and Crafts Activities
- Halloween Books in Spanish
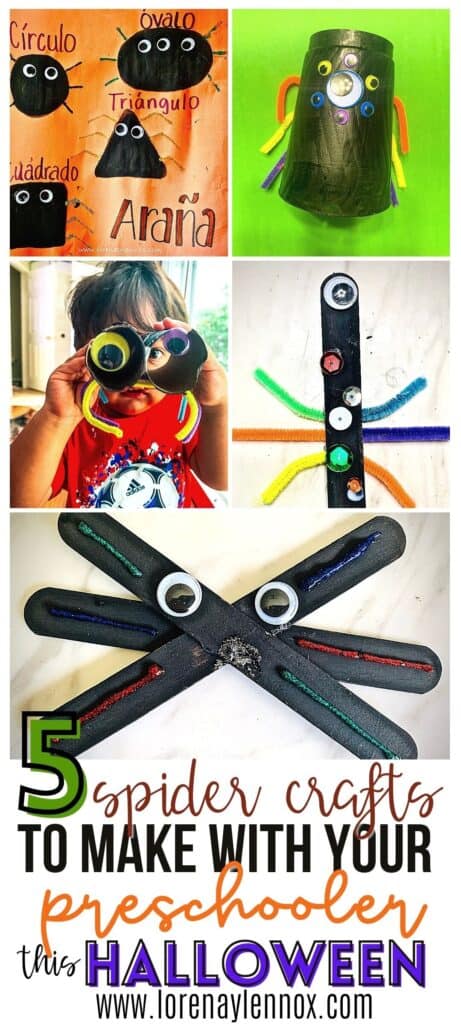
1. Spider Shapes
Materials needed for this simple spider Halloween craft:
- Crayola washable paint
- Crayola Markers
- Elmer’s Glue
- Household objects to work as shape stencils, or hand-drawn by a parent.
- Glitter Glue
- Construction paper
- Eyes
- First, we took our Melissa and Doug First Shapes Jumbo Knob Puzzle and traced the shapes with a black Crayola marker. These the puzzle pieces are chunky and have a knob, which made it easy for Lennox to hold the puzzle down and trace it as best as he could.
Since we speak to Lennox in Spanish at home, we labeled our spider shapes in Spanish!
2. Spider Magnets
Materials needed for this simple spider Halloween craft:
- Popsicle sticks
- Crayola washable paint
- Eyes
- Hot glue gun and glue
- Magnet snaps
- Pipe Cleaners
- Glitter Glue
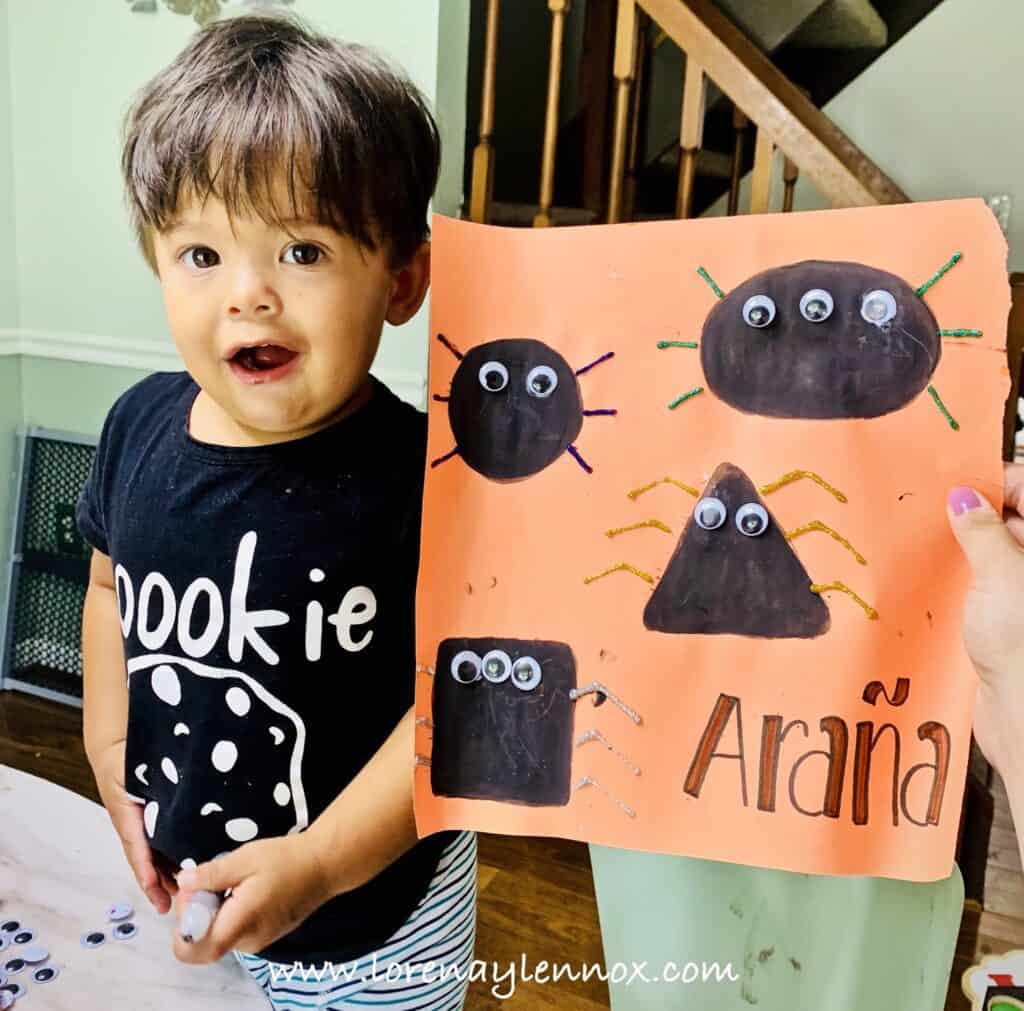
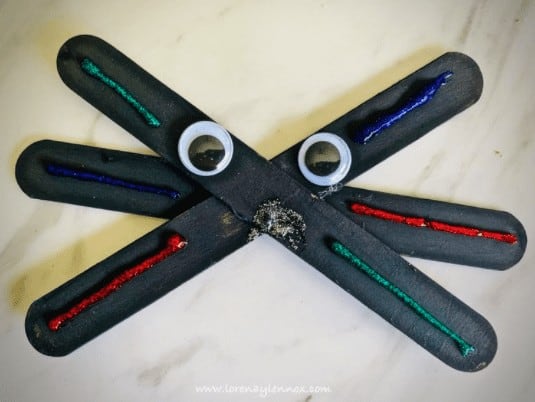
First, let your toddler get messy with you and paint your popsicle sticks. We painted five sticks for our two different types of spider magnets. We let each stick dry for an hour and painted three coats since the washable paint is not very opaque.
Once painted, it’s time for the hot glue gun which should only be operated by the adult.
With the hot glue, glue three sticks together so that they crisscross and form the legs of the spider.
Then, I placed Elmer’s glue dots, and let Lennox put the eyes on. Together, we used the glitter glue to brighten up the spider’s legs.
Once everything was all dry, we added a sticky magnet to the back and put it on our fridge.
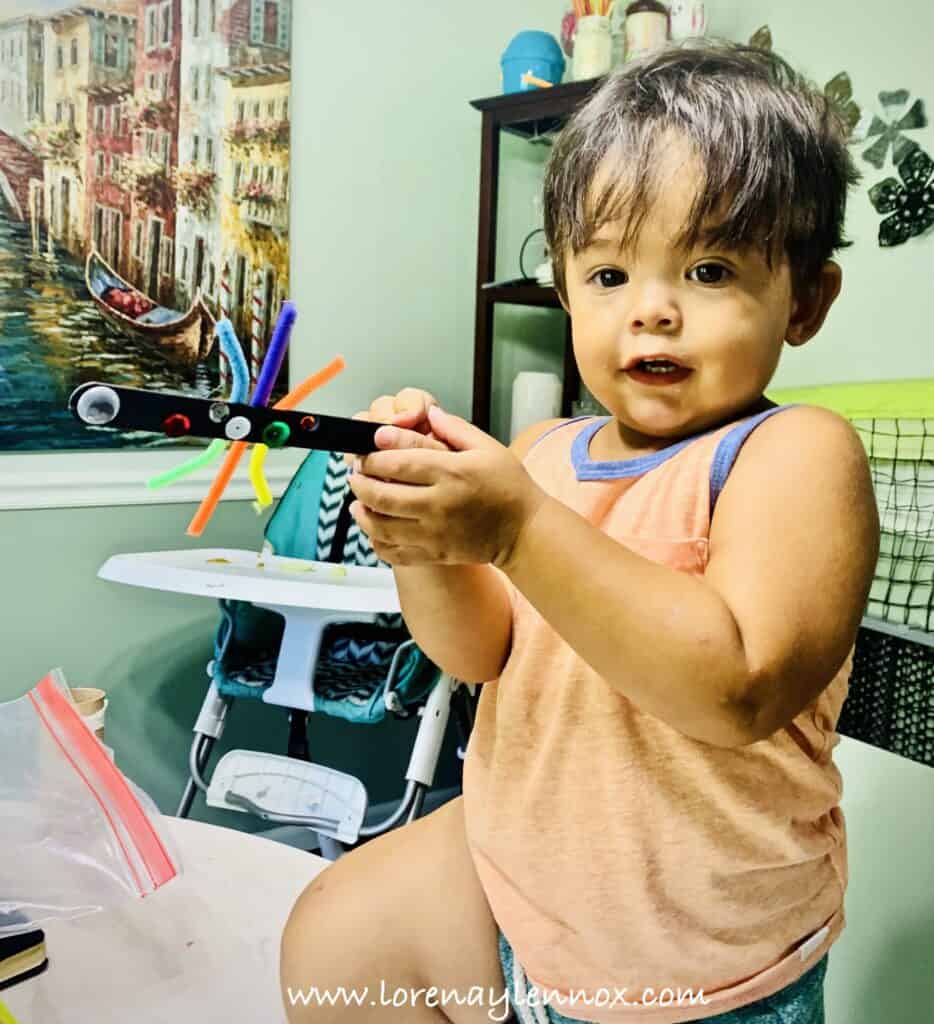
In our second Spider magnet, we just used one painted popsicle stick, and added three coats of paint.
Then, we glued on the eyes and sequins. As for the legs, we cut up three pipe cleaners into halves and attached them onto the back with the hot glue. Lastly, we attached the magnets.
Read more: 30 Printable PDF Halloween Bingo Cards in Spanish for Kids
3. Spidernoculars
Materials needed for this simple spider Halloween craft:
- Toilet paper rolls
- Pipe Cleaners
- Tape
- Hot glue gun
- Scissors
- Eyes
Take two finished toilet paper rolls and paint them black. As in our previous projects, we coated them with three layers of black paint. Once they were finished drying, Lennox added the sequins of his choosing to my pre-placed glue marks.
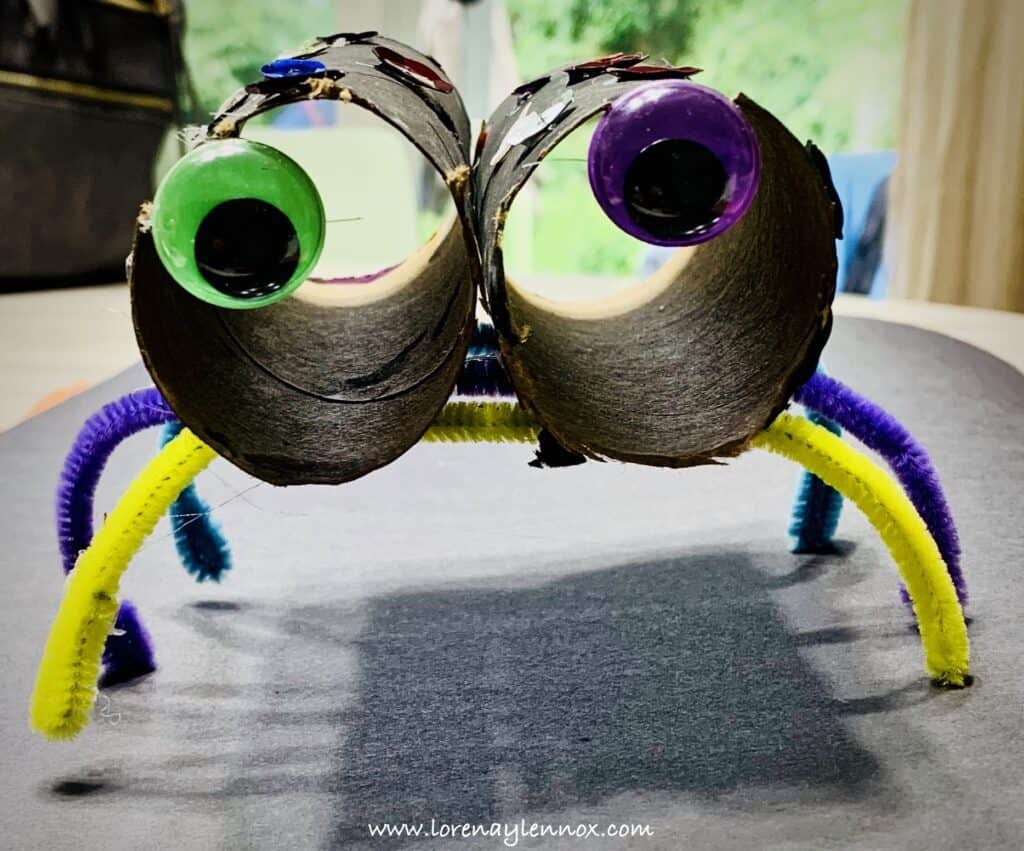
Then, I cut the rolls down a half-inch except for a tiny part, which I bent down to use a surface to put the sticker eyes.
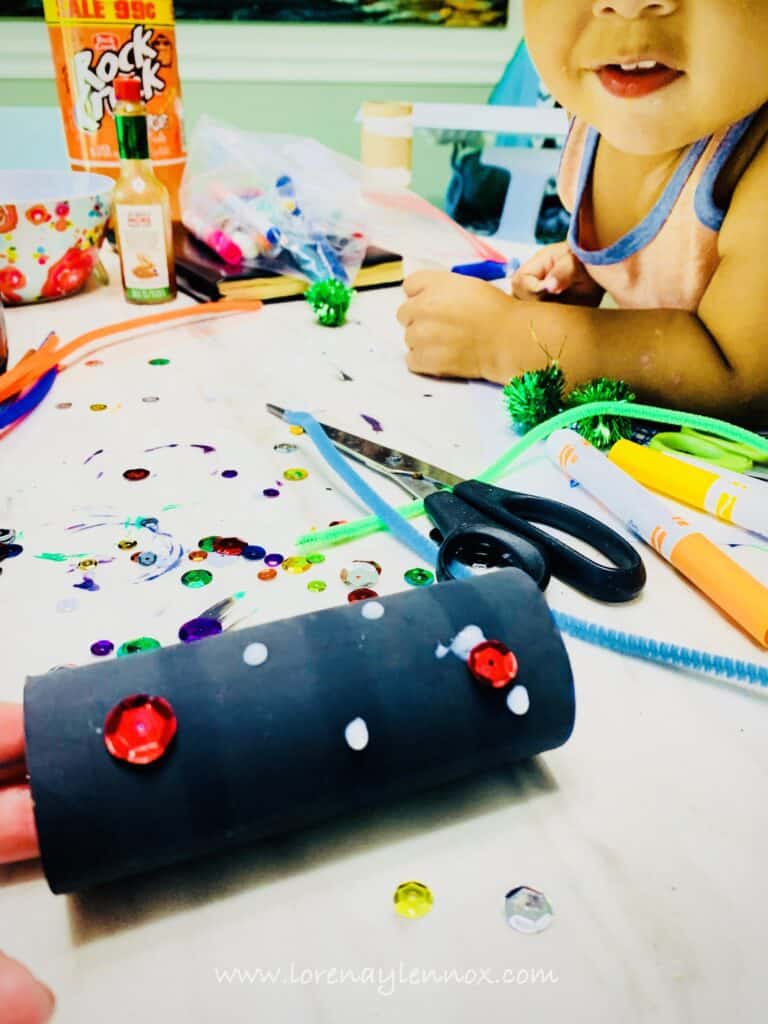
Then, I took the tape, and taped the front, and back of both toilet paper together on the insides to form a binocular shape.
Lastly, I hot glued three pipe cleaners onto the bottom. On all of our pipe cleaner crafts, I make sure to fold the ends of each cleaner so they are even and so they don’t prick your toddler.
4. Stack the Spider
Materials needed
- Cups
- Crayola washable paint
- Pipe Cleaners
- Tape
- Hot glue gun
- Eyes
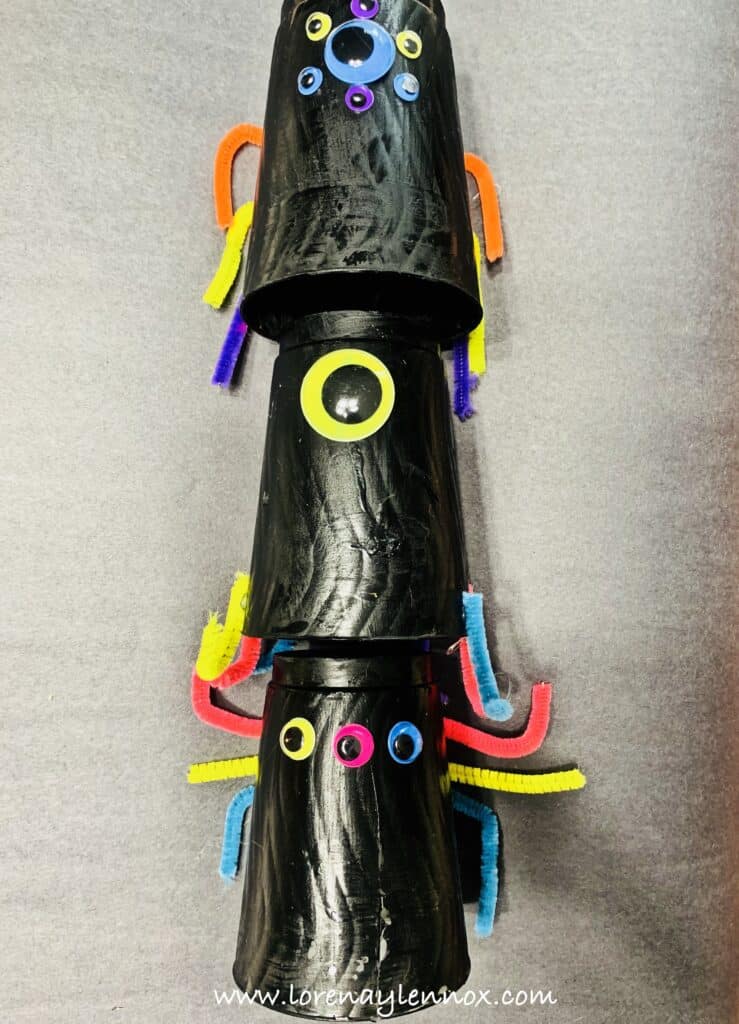
These cups were super easy and similar to the previous projects. Paint three layers of black paint onto your cups. Once they dry, add your eyes. For this craft, we used the peel-off-eyes because they stick better to plastic than with gluing them on. Then, we formed the legs out of pipe-cleaners, and I stuck them on with hot glue.
These spider cups are really entertaining for toddlers. Initially, I wanted to turn them into string puppets, but as soon as we finished decorating them, Lennox immediately started stacking them, using them like bowling pins, sorting bins, and more.
5. Paper Plate Spider Web
Materials needed
- Paper Plate
- Crayola washable paint
- Yarn
- Hole punch
- Pom Pom
- Eyes
- Pipe Cleaner
- Hot glue gun
Last but not least, the paper plate spider web.
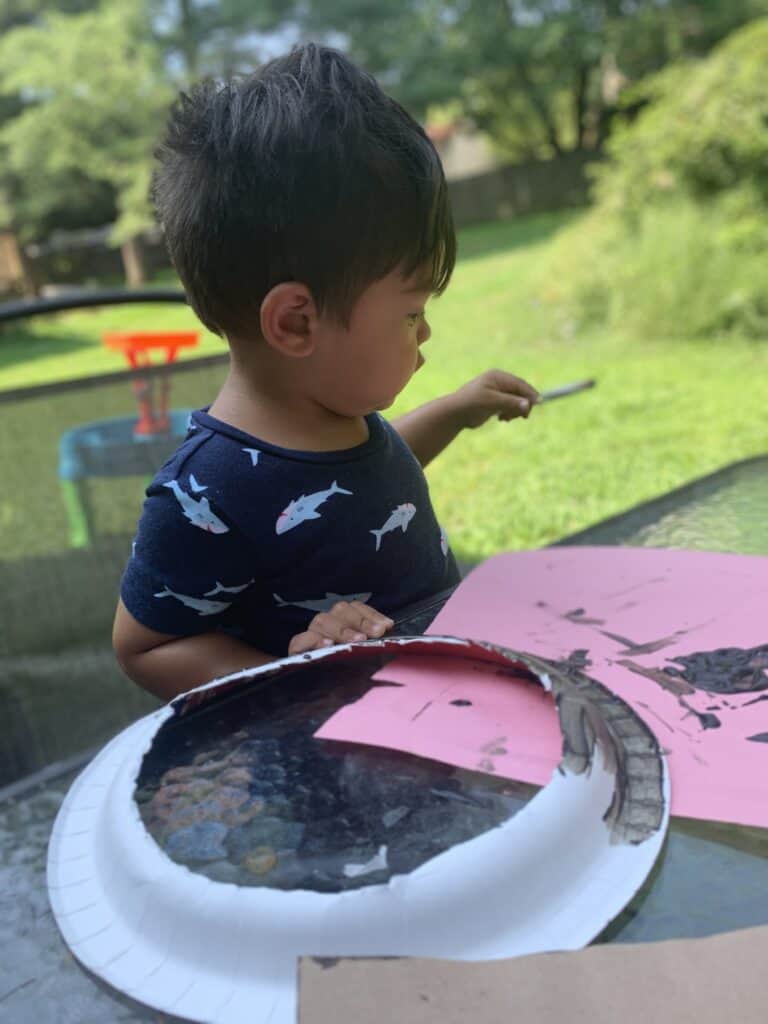
Take a paper plate and cut out a large circle in the center of the plate. Apply three coats of black paint.
Once it’s dry, hole punch, or if you don’t have one like me at the time, take a sharp object and carefully poke a hole the plate.
Allow your toddler to exercise his fine motor skills with the yarn and show him how to weave it in and out of the holes.
This is pretty advanced for a two-year-old toddler, so be patient. Once he has lost his attention span, go ahead, and weave your string throughout the different holes to form a web.
Once you are out of yarn, or you have enough on your web, tie the end to another piece of yarn on the backside of your web.
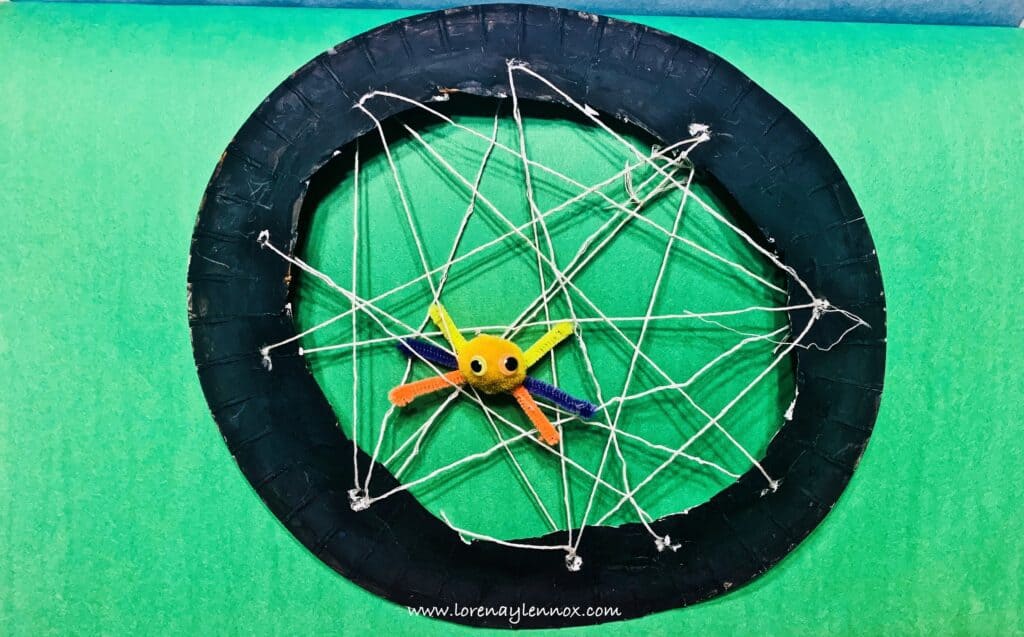
Then, take a pom pom and add the peelable, sticky eyes since glue will not stick very well. Then, cut pipe cleaners into inch and a half pieces and hot glue them crisscross on the backside of the pompom. Wadah! A tiny spider that your toddler will love!
We hope you enjoyed our spider crafts. Tag us on Instagram using the handle @lorenaylennox to show us your spider crafts!!!
Jordan | Mindfulmamahealth
Sunday 1st of September 2019
These look like fun activities! I’m pinning for later!
Maggie
Friday 30th of August 2019
These are so cute! Brings me back to the days my daughter was little. It's amazing what you can do with toilet paper rolls, those spidernoculars are adorable!